

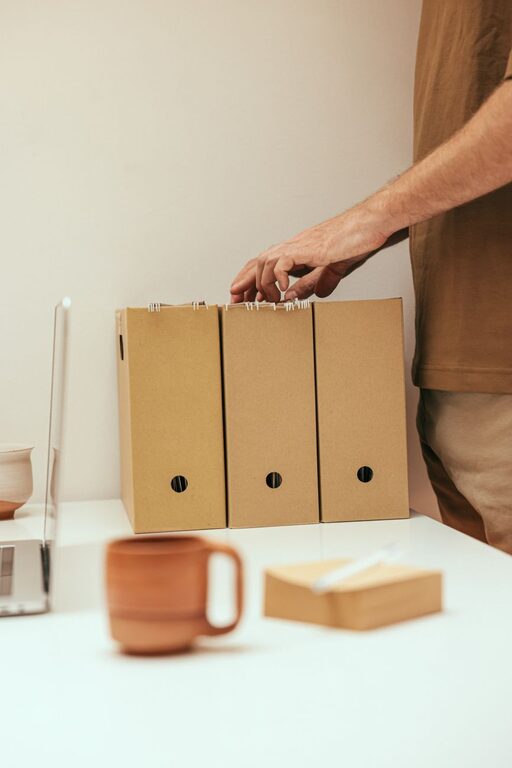
Paper clutter can build up quickly. Mail, school notices, receipts, manuals, invitations, and old notes often collect on counters, desks, and kitchen tables. The good news is that you do not need a complicated system to regain control.
A few simple decisions and regular habits can make paper easier to sort, store, and recycle. Start small, work in short sessions, and create a clear place for the papers you truly need.
Start With One Small Area
Trying to organize every paper in the house at once can feel overwhelming. Instead, choose one limited area, such as:
– The kitchen counter
– A desk drawer
– The entryway table
– A mail basket
– One filing cabinet drawer
Gather only the papers from that area. This gives you a clear starting point and helps you see progress quickly.
Set a timer for 15 to 30 minutes. When the time is up, pause and decide whether to continue. Short sessions are often easier to repeat than a long organizing project.
Create Four Simple Categories
As you sort, place each paper into one of four categories:
- **Keep:** Papers you need to refer to or store.
- **Act on:** Papers that require a task, response, or decision.
- **Recycle:** Papers you no longer need.
- **Shred:** Papers that contain personal details and should not be discarded whole.
Do not spend too much time reading every document. Make a quick first decision. If a paper needs more attention, place it in the “Act on” group and keep sorting.
This approach prevents you from getting stuck on one item while a larger pile remains untouched.
Use a Clear Action Spot
Many papers stay out because they need a future action. Create one specific place for them, such as a small tray, folder, or desktop organizer labeled “To Do.”
Use this space for items such as:
– Forms that need to be completed
– Invitations that need a response
– Notices that require a date on your calendar
– Notes about upcoming household tasks
– Documents waiting for a decision
Check the action spot on a regular schedule, such as twice a week. Once a task is finished, recycle, shred, or file the paper immediately.
Keep this area limited in size. If the tray becomes full, it is a useful signal that it is time to review the contents.
Set Up a Basic Filing System
A filing system does not need many categories. Too many folders can make filing feel like work, which often leads to more piles.
Choose broad labels that match your household needs. For example:
– Home
– School
– Work
– Vehicles
– Pets
– Warranties
– Projects
– Important records
Use folders, envelopes, or a small file box. Store frequently used papers near your desk or another convenient location. Less frequently used papers can go in a labeled storage box.
File papers vertically when possible. You can see the labels more easily, and you will not need to lift a stack to reach the document underneath.
Reduce Paper Coming Into the Home
The easiest paper to organize is the paper that never enters the house. Look for common sources of unnecessary clutter and reduce them where possible.
Try these ideas:
– Choose paperless statements or notices when that option is available.
– Unsubscribe from catalogs and promotional mail.
– Ask organizations to remove outdated household members from mailing lists.
– Keep a recycling container near the place where mail arrives.
– Open mail beside the recycling container instead of carrying the whole stack to another room.
– Avoid accepting printed receipts, flyers, or handouts unless you need them.
Create a simple mail routine. Sort mail as soon as possible into recycle, shred, action, and file categories. Even a few minutes each day can prevent a large pile from forming.
Digitize Useful Information
Some papers are kept because the information may be useful later, but the original document may not be necessary. A digital copy can reduce physical storage needs.
Before scanning or photographing a paper, ask whether you will realistically need the information. If the answer is yes, save a clear digital copy in a labeled folder.
Helpful digital folder names might include:
– Home records
– Product information
– School documents
– Household projects
– Receipts
– Travel plans
Use consistent file names, such as “2026 appliance manual” or “spring cleaning checklist.” A clear name makes the file easier to find later.
Back up important digital files and protect them with the usual security settings on your device or storage service. Digital clutter can grow just as easily as paper clutter, so remove files you no longer need.
Keep Manuals and Instructions Under Control
Product manuals often create bulky piles. First, check whether the instructions are available on the manufacturer’s website. If so, you may not need to keep the printed copy.
For manuals you do keep, use one folder or box labeled “Manuals.” Remove packaging inserts, duplicate pages, and information that does not apply to your specific item.
You can also create a short household reference list with details such as product names, model numbers, and purchase dates. Keep the list in the same location as the manuals.
Use a One In, One Out Rule
For certain types of paper, use a one in, one out rule. When a new document replaces an older one, remove the outdated version.
This works well for:
– Calendars
– School schedules
– Event programs
– Appliance instructions
– Household checklists
– Project notes
The rule keeps categories from expanding indefinitely. It also encourages you to review older papers instead of adding new ones to the top of a pile.
Schedule a Weekly Paper Reset
A short weekly reset can keep clutter from returning. Choose a regular day and spend 10 to 20 minutes reviewing paper around the home.
During the reset:
– Empty the mail area.
– Check the action tray.
– File completed documents.
– Recycle outdated papers.
– Shred papers that should not be discarded whole.
– Return loose papers to their proper folders.
– Add important dates to a calendar.
A weekly reset is more manageable than waiting until every surface is covered.
Make the System Easy to Maintain
The best organizing system is one that fits your daily routines. Keep folders, trays, and recycling supplies where you naturally handle paper. Use simple labels and avoid creating more categories than you need.
If a system is difficult to use, change it. A basket may work better than a filing cabinet for active papers. A wall folder may be more convenient than a desk drawer. The goal is not to create a perfect setup. It is to make the next decision easier.
Start with one small area, make clear categories, and build a routine that takes only a few minutes. With steady habits, paper clutter becomes easier to manage and less likely to take over your home.